
Stripe Checkout, the star page
Want to make extra sales through your welcome book? Find out how to create a Stripe payment page and link it to your welcome book!
So what exactly is the Stripe Checkout page?
You know PayPal? Well, Stripe does the same thing AND does it better!
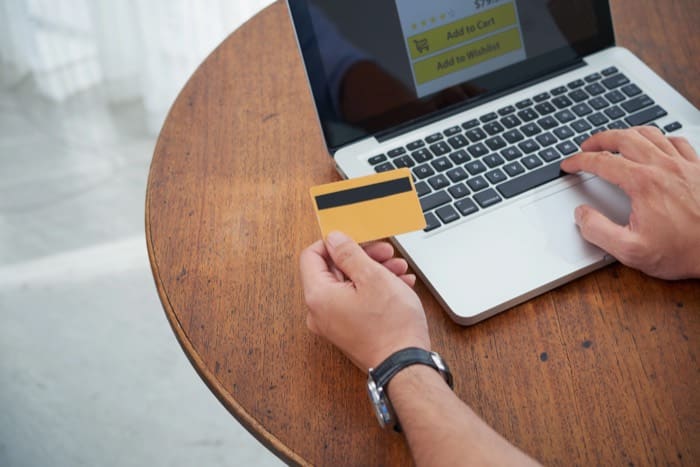
To put it as simply as possible, Stripe Checkout (payment page) lets you have a purchase page without needing a website at all.

It is a simple way to let your guests book extra services with you: a taxi, a bottle of champagne, local produce and so on. Anything that comes to mind and that your guests might enjoy.
Just like StyQR, you can personalise the design of your payment page!

Stripe makes a point of keeping the payment experience as smooth as possible. Your guest can enter their payment details in complete safety and add your products properly. Ready to order? They can save their details at any time for one-click payment on their next purchase. Of course, payment works on any device (mobile, tablet or computer) and, if you fancy it, you can enable payments via Google Pay or Apple Pay, though it is not compulsory.
Let's create your Stripe payment page together
Once you have created your products, you can move on to creating the payment link. You will find it under Products > Payment link, then click + Create a payment link.
There you go, all that is left is to add the product you want to link to your Stripe payment link and tick the options you need.
Almost done: copy the payment link that has been generated and that's it, you have your Stripe payment link!
If you go back to the Products > Payment link tab, you will see a neat shortcut to all your links!
And of course, we have written a tutorial so you can learn how to shorten your links in 2 minutes!


With your Stripe payment page, you can start making extra sales.
So come and discover our top tips for getting your sales off the ground with your welcome book!
Frequently asked questions
Do I need a website to sell extras? No. Stripe Checkout gives you a purchase page that stands on its own, with no site behind it. You create the link, you send it to your guests, they pay. That is the main appeal of the tool for a host who has no desire to run a website.
Where do I create the payment link in Stripe? Under the Products tab, in the Payment link section, then « Create payment link ». You need to have created your products first, otherwise there is nothing to attach to the link. Tick the options you want, copy the link that appears, and you are done.
What can I sell on that page? Whatever your guests are willing to buy on top of the stay: a taxi booking, a bottle of champagne on arrival, local produce. The list is limited only by what you can actually deliver on site. Start with two or three items, you will soon see which ones sell.
Can my guest pay from their phone? Yes, payment works on mobile, tablet and computer. That matters when the page is opened straight from the welcome book, mid check-in, with a suitcase in the other hand. The guest enters their payment details securely and can save them for one-click payment next time.
Do I have to turn on Apple Pay and Google Pay? It is not compulsory. You can offer them if you want to shorten the checkout further, but a page that takes card payments already does the job. Do not hold up your launch over this option, you can switch it on later.
How do I shorten a payment link that is too long? The link Stripe generates works fine but looks poor, especially printed on a poster. Use a URL shortener such as Bitly; we wrote a dedicated tutorial that takes two minutes to follow. All your links stay listed under the Products tab, in the Payment link section.
Here's a summary of the steps and options for creating and configuring your Stripe payment page.
| Step | Action | Optional? |
|---|---|---|
| 1 | Create your products (taxi, champagne, local products, etc.) | No |
| 2 | Go to Products > Payment link | No |
| 3 | Attach a product to the payment link | No |
| 4 | Enable necessary options (Apple Pay, Google Pay) | Yes |
| 5 | Copy the generated link | No |
| 6 | Shorten the link using Bitly (if printed) | Yes |
On the same topic